Avaota OS Firmware Burn
Burn to TF Card
Material preparation
The first materials to be prepared are:
- SD-Card Formatter:[https://www.sdcard.org/downloads/formatter/]
- balenaEtcher:[https://etcher.balena.io/]
- Avaota Pi - A1 Board x1
- TF-Card (not less than 4Gb) x1
- 12V-DC-Power Adapter x1
- TF Reader x1
- USB TTL Splitter x1 (optional)
- HDMI Gathering Card x1 (optional)
- USB Data Line
Get Mirror
You need to get a mirror from AvaoOS and its verification file before installation begins.
- Click to open this link Releases · Avaota SBC/AvaotaOS (github.com).
- Download the mirror package selected for ubuntu-jammy-cli-aarch64-avaota-a.img.xz
TF Card Burn Steps
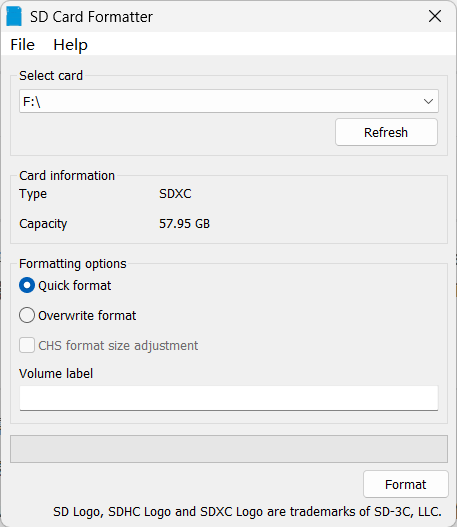
- Use SD-Card Formatter to format memory card first.
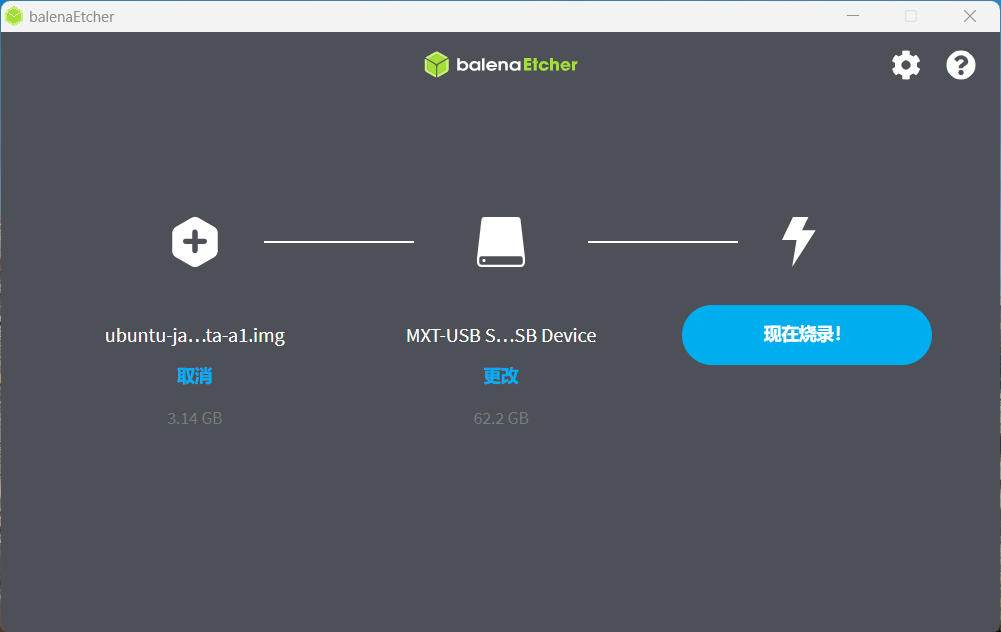
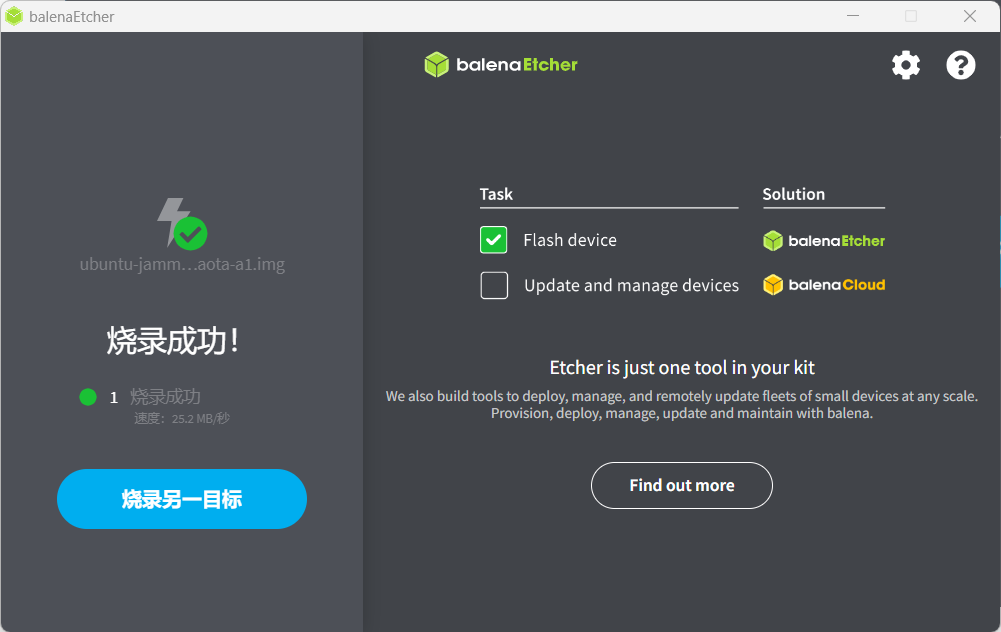
- Burns to SD card.
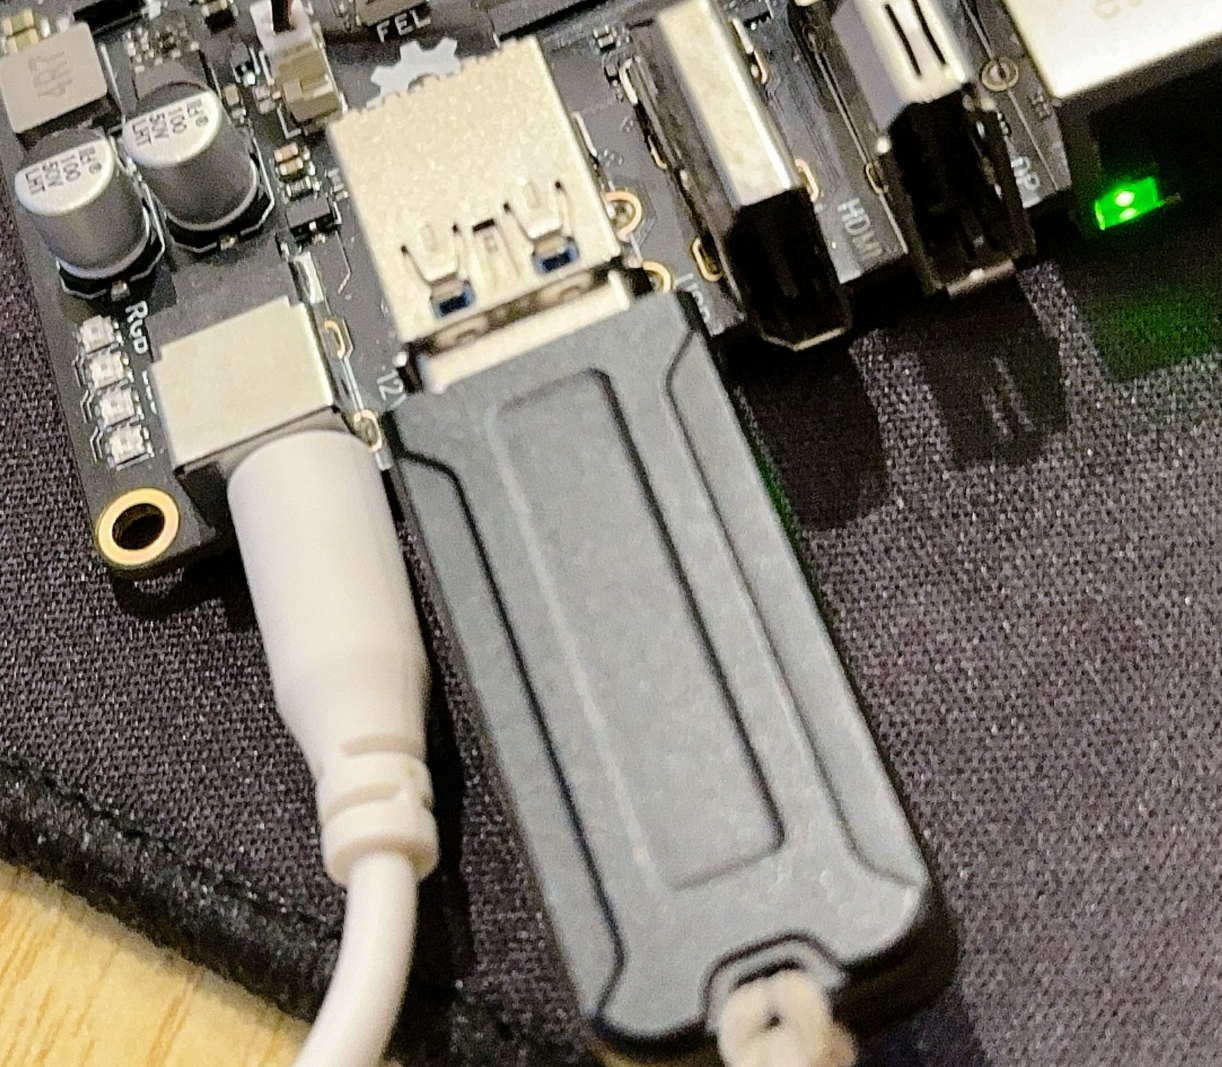
- Unblock SD card, insert Avaota and power power
Burns to the board load eMMC
eMMC is burnt through the TF card, and first prepare a TF card for a Burn Write system as shown above.
Then Avaota OS is on the power startup system.

Prepare a disk to copy the system into the U disk.

U Access Board
View partition mount
sudo fdisk -l
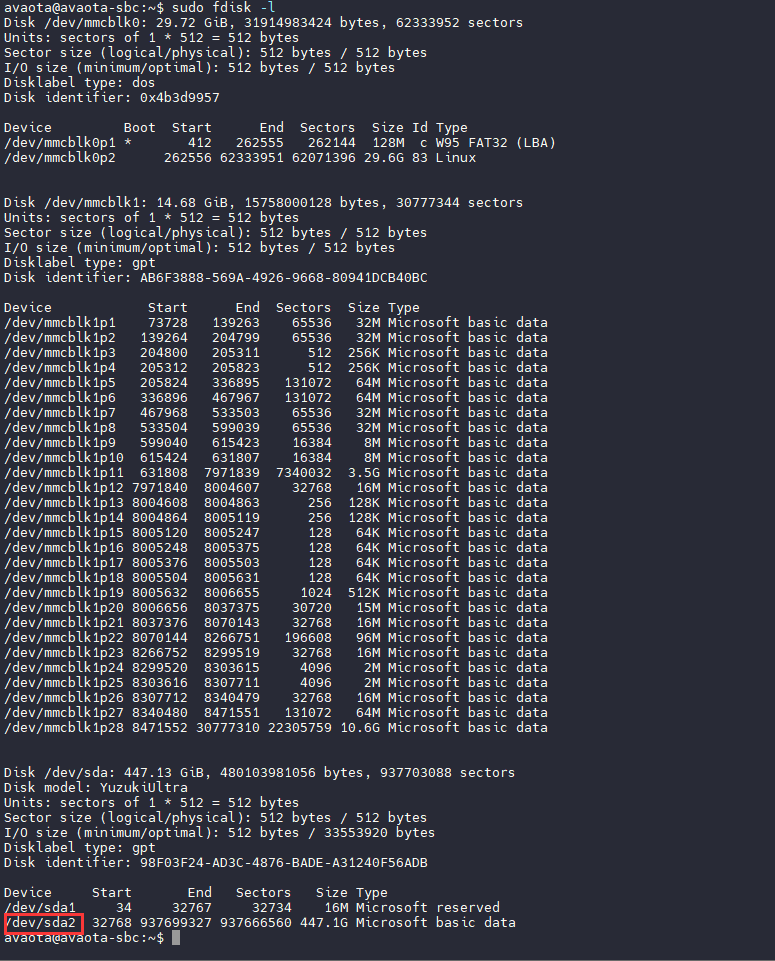
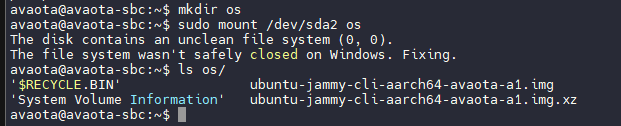
You can see /dev/sda, partition /dev/sda2, eMMC /dev/mmcblk1, write /dev/mmcblk1, then create a new folder os as a mount point, mount U disk
mkdir os
sudo mount /dev/sda2 os
Write firmware to eMMC
sudo dd if=ubuntu-jammy-cli-aarch64-avaota-a1.img of=/dev/mmcblk1